One project that I’ve been working on for the upcoming Christmas season of décor is antiquing new mirrors to achieve that vintage look. I’ve been dying to show you how to EASILY antique a mirror without using the super harsh chemicals that most tutorials suggested to use. I don’t know about you but any DIY project with the word “acid” in it has me a little weary.

The links below contain affiliate links and I will receive a small commission if you make a purchase after clicking on my link.
So, how did I achieve this antique look without the icky chemicals? Let’s start with what you need:
- Mirror – I found some at Goodwill for $3.99 apiece. I suggest looking for ones that have a beveled edge to them because most real vintage and antique mirrors also have a bevel. Don’t worry about the frame…you won’t need it.
- Paint Stripper – I used Citri-Strip Paint and Varnish Stripping Gel
because it is safe for indoor use and less harsh. Of course I ALWAYS recommend any stripping project to be done in a well ventilated area.
- Bleach and Water
- Rag
- Plastic container – I used an old Tupperware container.
- Plastic gloves
- Paper Towels
- Scraper
- Rag
- Paints
So let’s get started with the HOW-TO segment of this post shall we?
For this project I used two mirrors from Goodwill. I removed the backs of the mirrors and took them out of the frames. Make sure you wear safety gloves for this because obviously, mirrors are sharp!
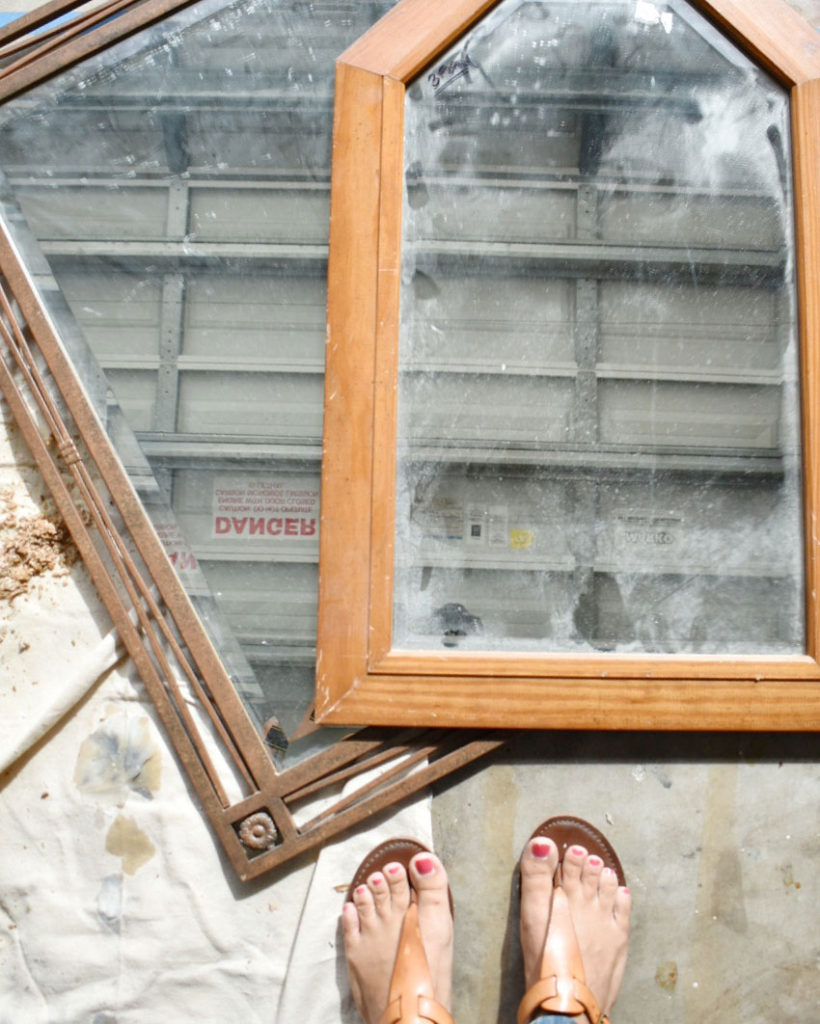
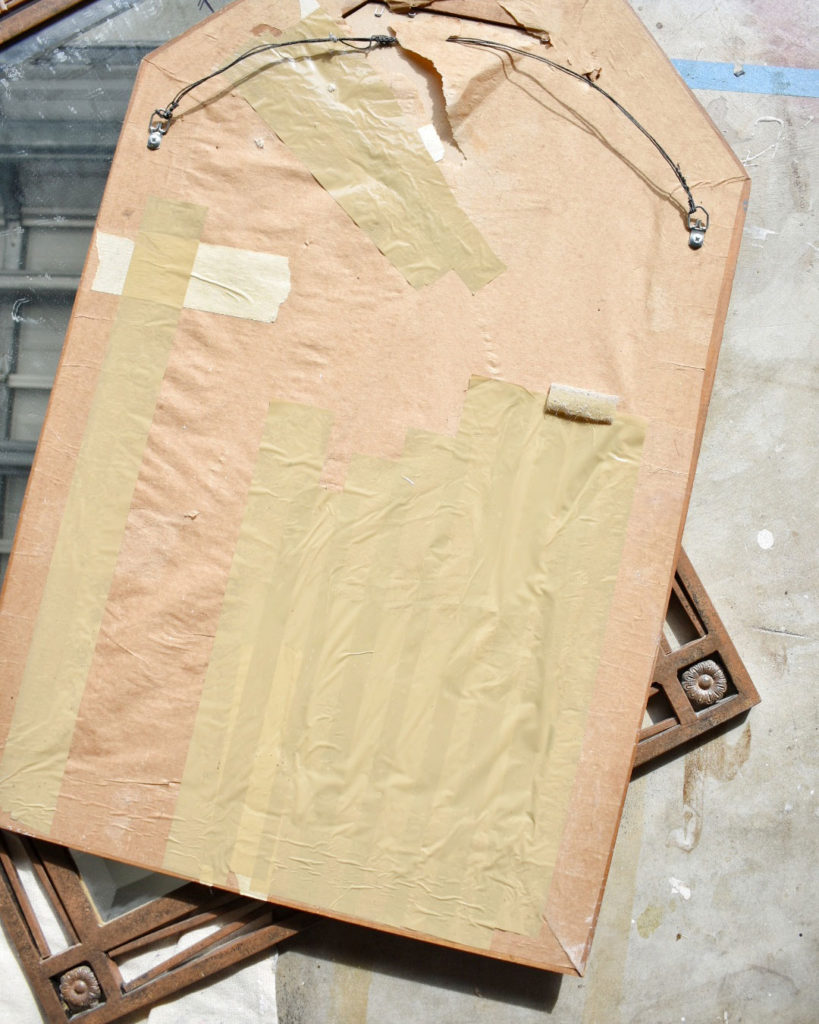
If you choose to keep the frames ( I was going for a frameless look with mine) just remove the backing and carefully save it, along with the frame, to put back on the mirror when you are finished antiquing it. The backing, which could be cardboard, thin particle board, or wood may be held in place by nails or staples. Use a flat heat screw driver and pliers to pry them up and pull them out.
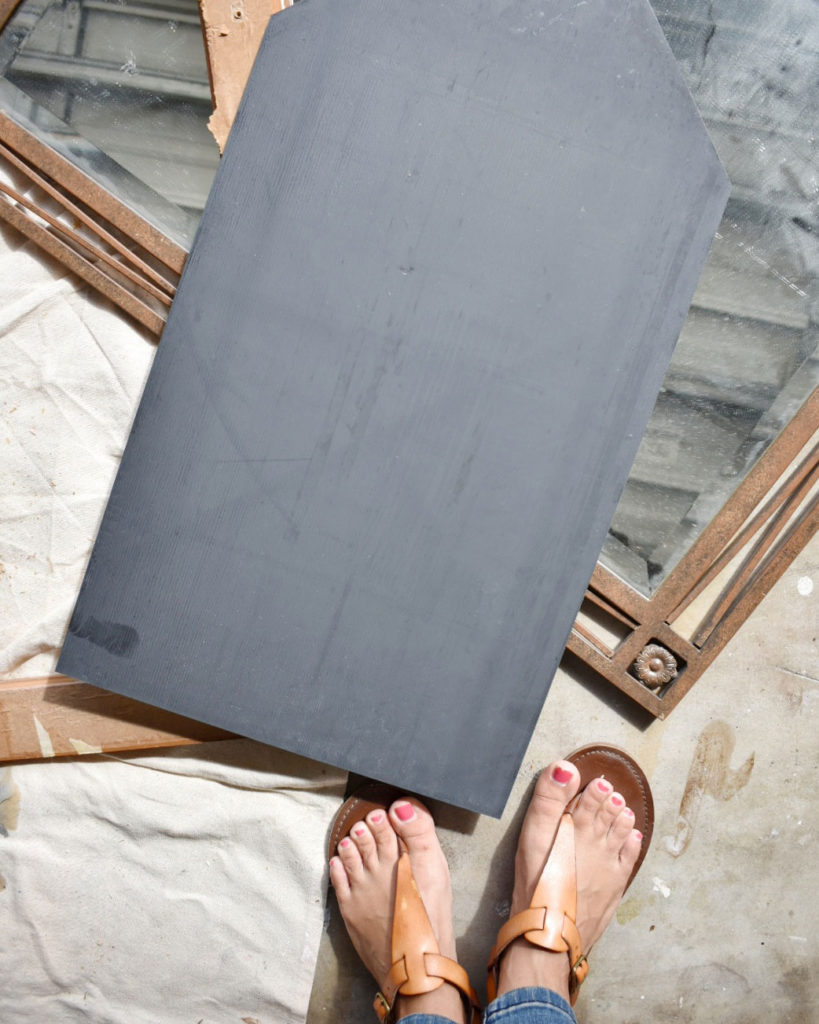
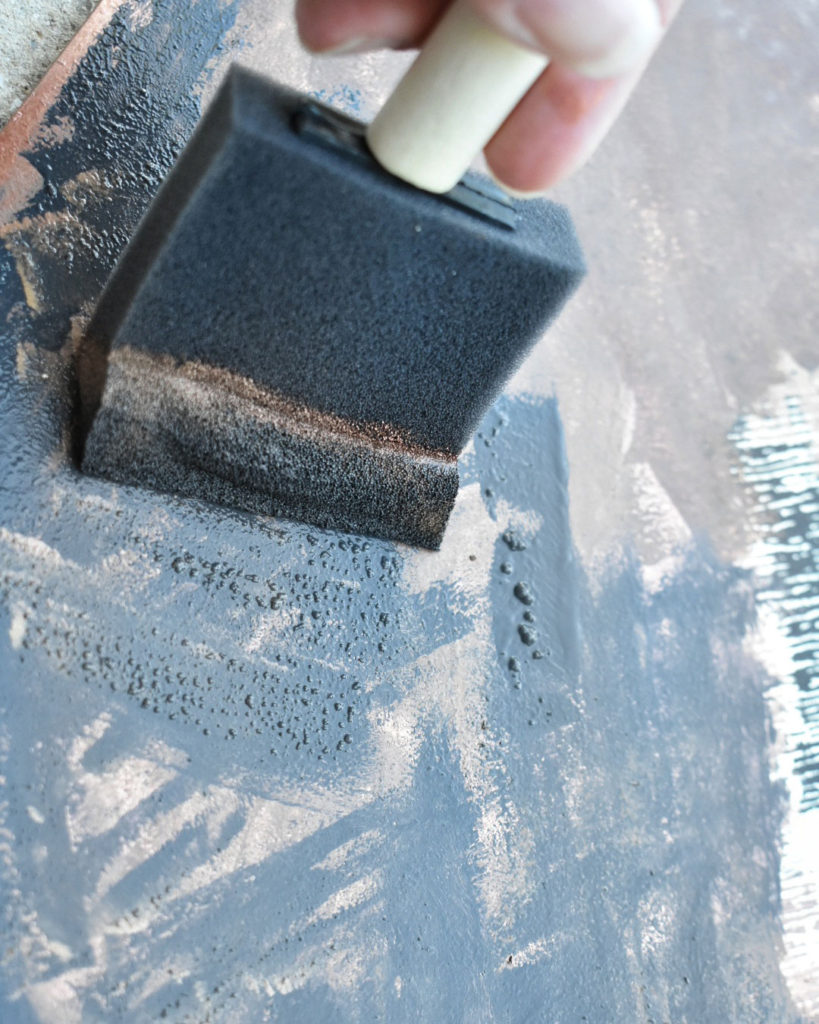
Next comes the stripping of the mirror backing. You’ll notice the back of your mirror is a gray, black, or rusty brown color. This is the coating that goes on over the reflective film that gives the mirror a, well, reflective look. Use an old paint brush with the Citri-Strip Paint and Varnish Stripping Gel.
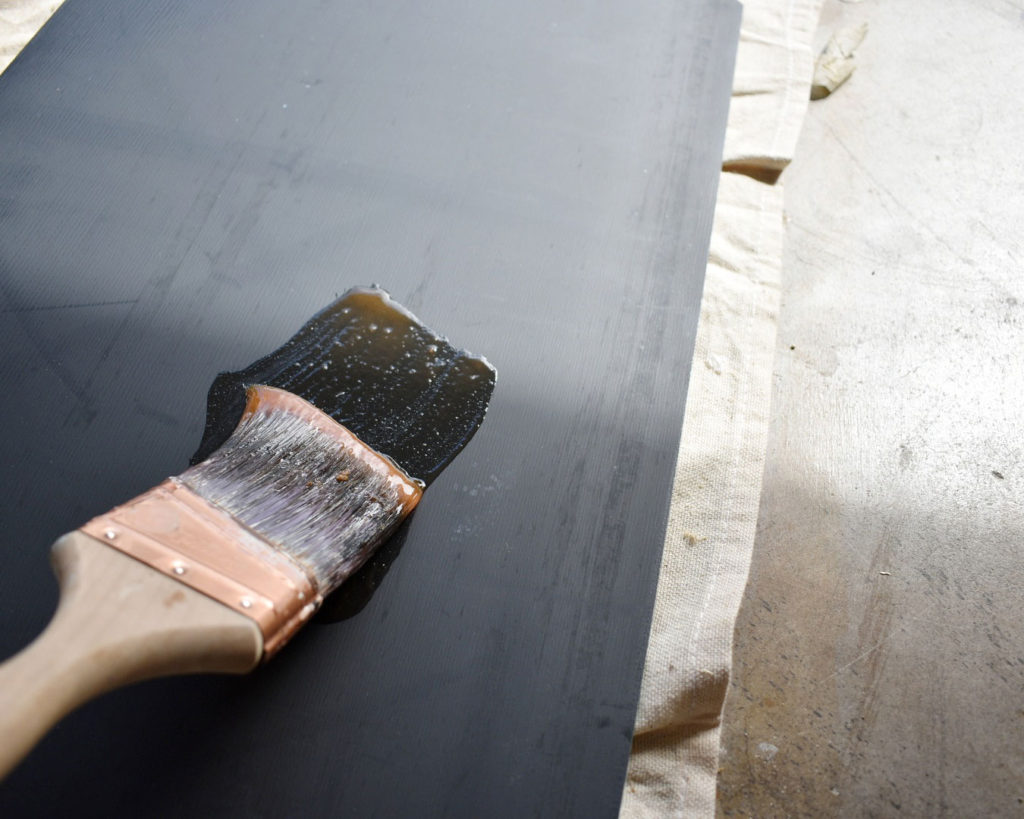
You’ll want to be careful that you don’t glob it on or it will remove the reflective layer and you’ll be left with just glass. It will only take about 10 minutes for the stripper to do it’s work. You’ll notice the back coating will start to bubble up. At this point you can use your scraper to gently start scraping this layer off. You’ll see a gold reflective layer underneath and that’s where you’ll want to stop.

You don’t need to get the entire layer of coating off. It will all depend on the look you are going for. My mirrors still have some of the coating left on and that is ok. If there is any remaining stripper you can remove it with a damp paper towel and dispose if it properly.
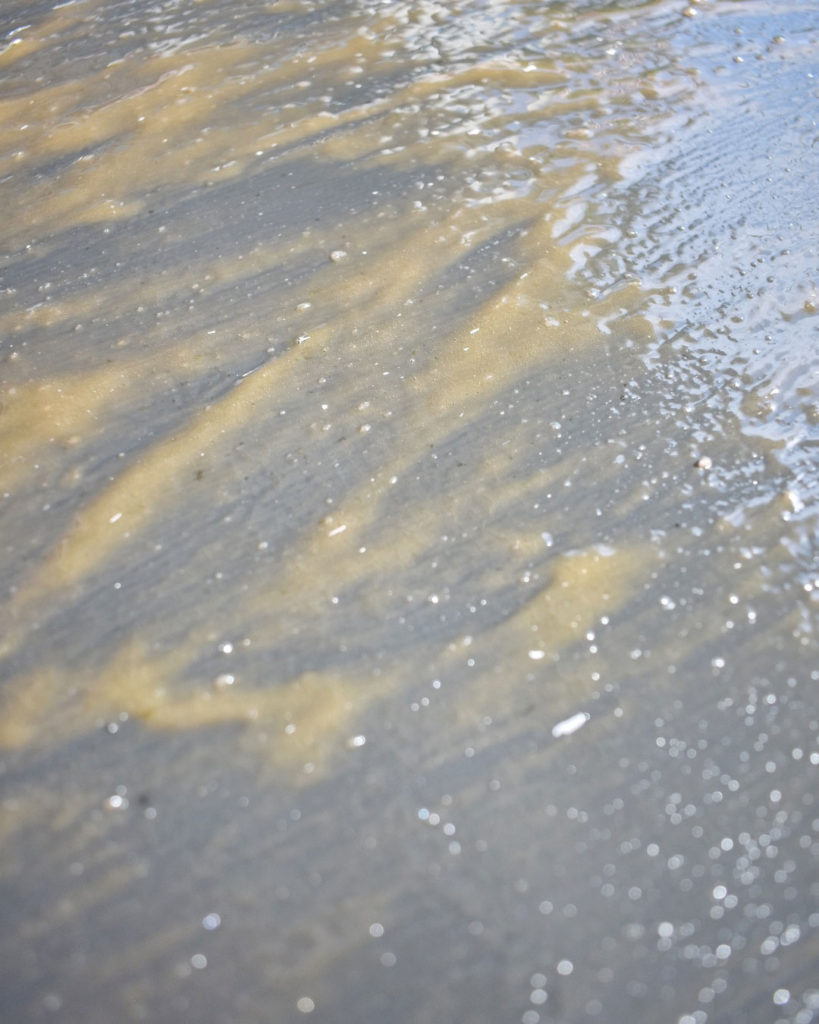
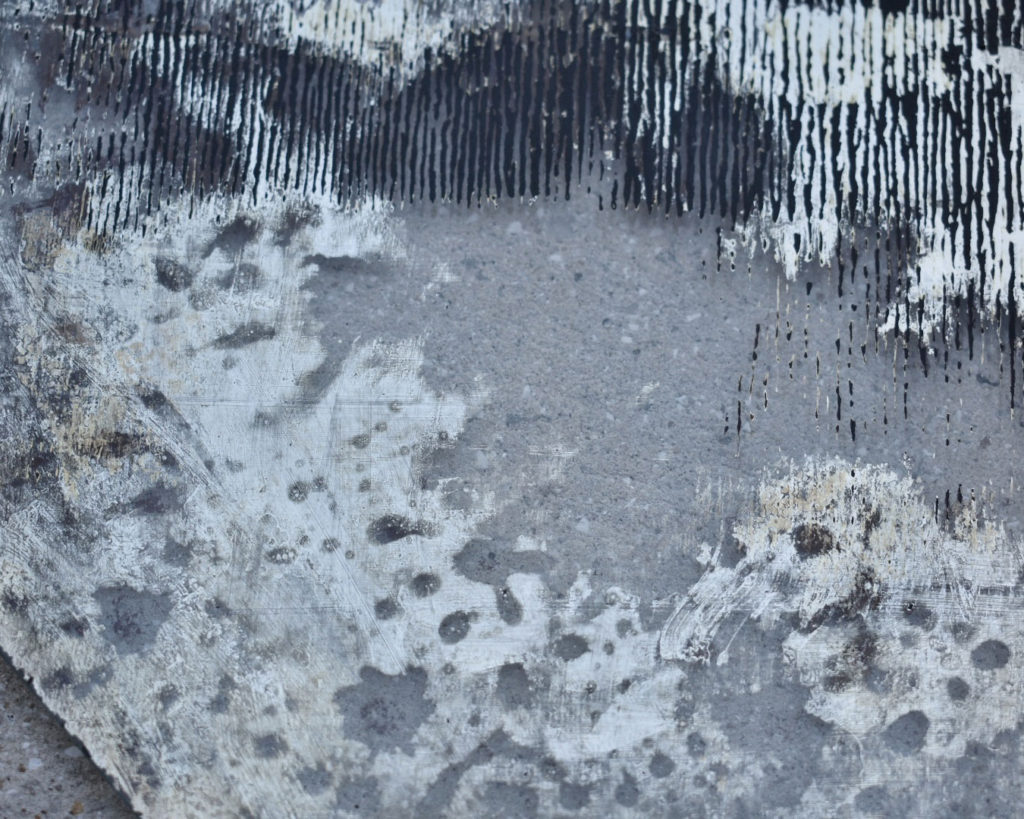
Once you’ve stripped off as much of the backing as you’d like, then you use the bleach to create that antiqued look. I mixed a 50/50 ratio of bleach to water in my Tupperware container. With gloves on I took an old rag to dip into the mix, wring it out, and squeeze it over the mirror in places I want to antique. This created droplets and then I patted the areas with the same cloth to blot it.
Here you can see my driveway through the mirror. See the splotches? That’s from the bleach and water mix.
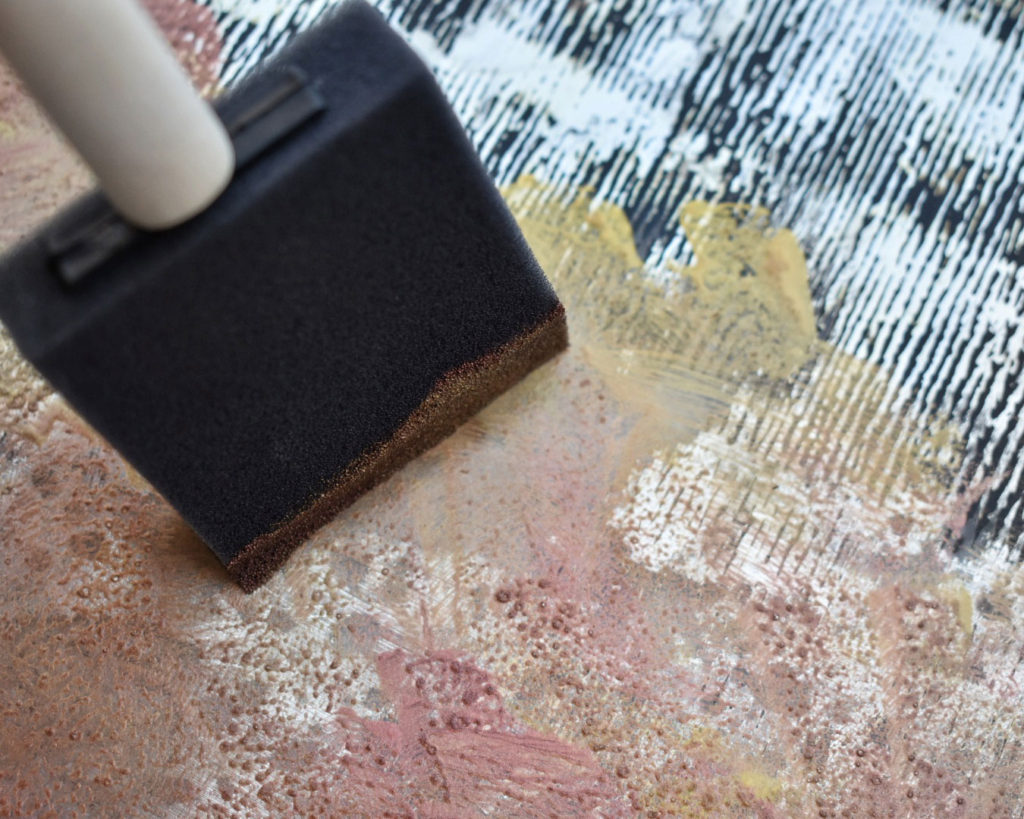
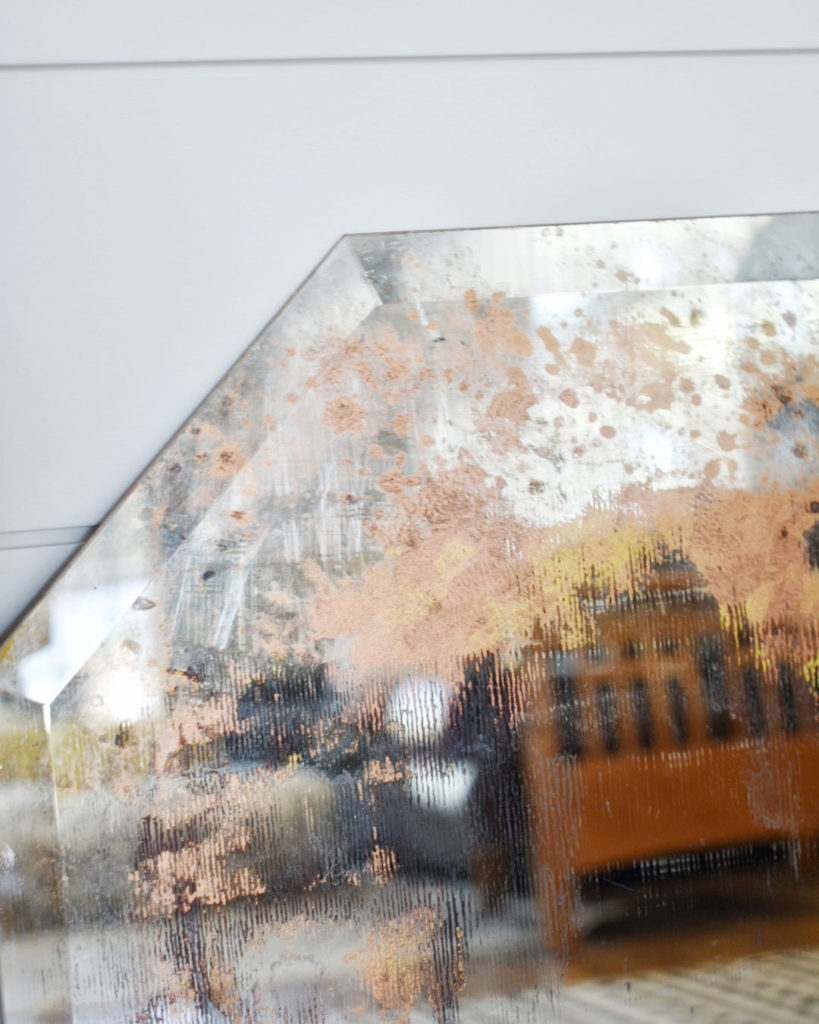
Here comes the experimenting part. This is where I sponged on some colors to give it that aged bronze antique look. I first started with DecoArt Worn Penny mixed with DecoArt Splendid Gold
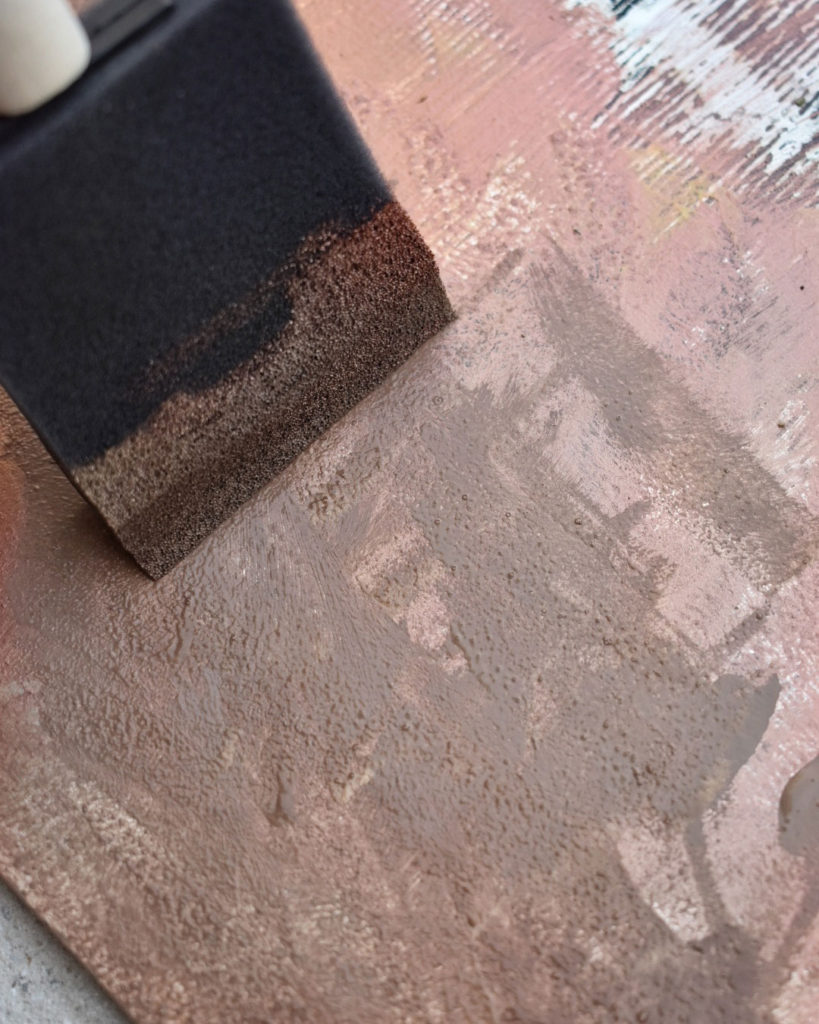
. Going back I think I would have skipped the gold and just done the Worn Penny. After that layer dried I applied a mix of browns, Warm Brown from Anita’s and Apple Barrel Nutmeg Brown
. That covered the open spaces more. Lastly, I went through with a black color, Apple Barrel Pavement
, to make sure you couldn’t see through the spots that the bleach had made and to create a shadowing like natural age.
And there you have it! Once the paint is all dry you can either put the mirrors back in their original frames, reframe them in something else, or keep them frameless like I did. Now that you know how to antique a mirror, do you think you might try it? If you have any questions, please leave a comment and let me know!

Loves, come follow along on my Instagram for more pics, life and decor, and be sure to check out the Avelyn Lane Pinterest and Facebook page, too!
Health, Happiness, and Abundance!
Jess
Full DISCLAMER | DISCLOSURE